Job Composer
The Job Composer is a powerful tool that helps users create, configure, and manage jobs through an intuitive interface.
When launching the Job Composer for the first time, a tutorial will guide you through the basic features.
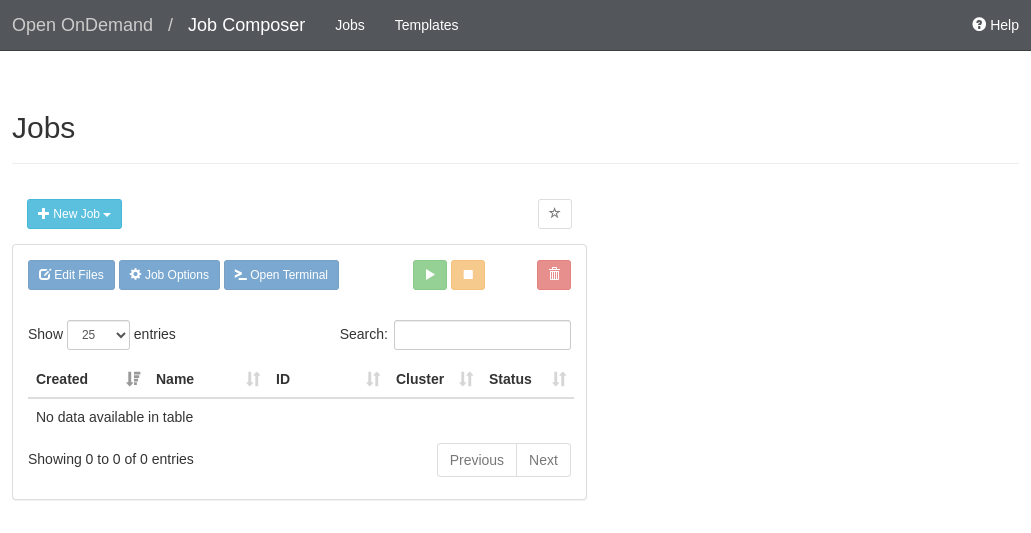
You can create a new job by clicking the New Job button. This provides the following options:
- From Default Template: Use a predefined job script to get started quickly.
- From Specified Path: Load a job script from a known directory path.
- From Selected Job: Duplicate an existing job to use as a base.
Example
Create a new job using the From Default Template option. A new job entry named "default" will appear in your table with the status "Not Submitted".
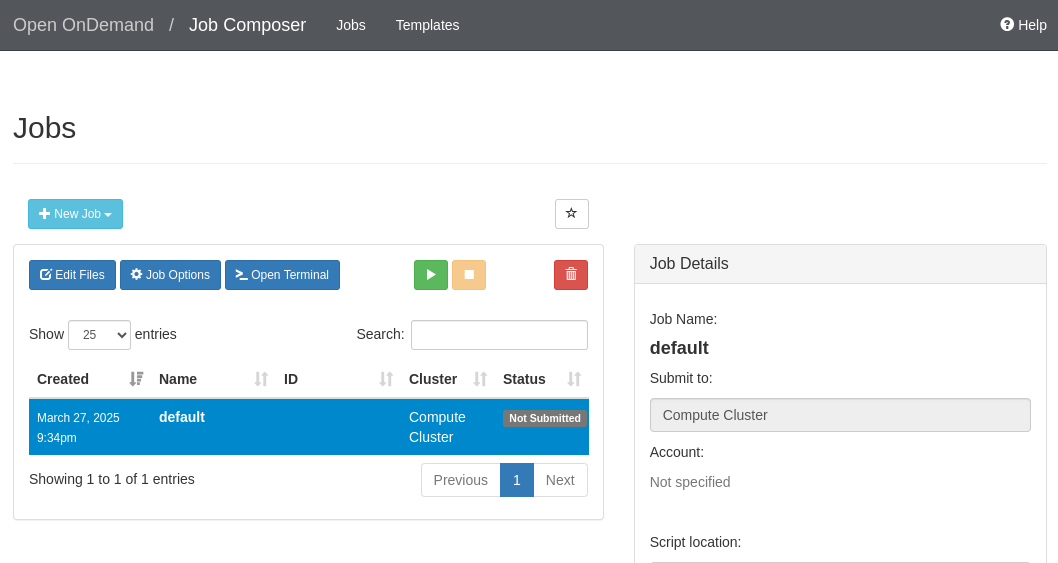
All your jobs (created, queued, running, and completed) will be listed in a table. Each job has its own dedicated folder. You can open the folder in the File Manager by clicking Edit Files.
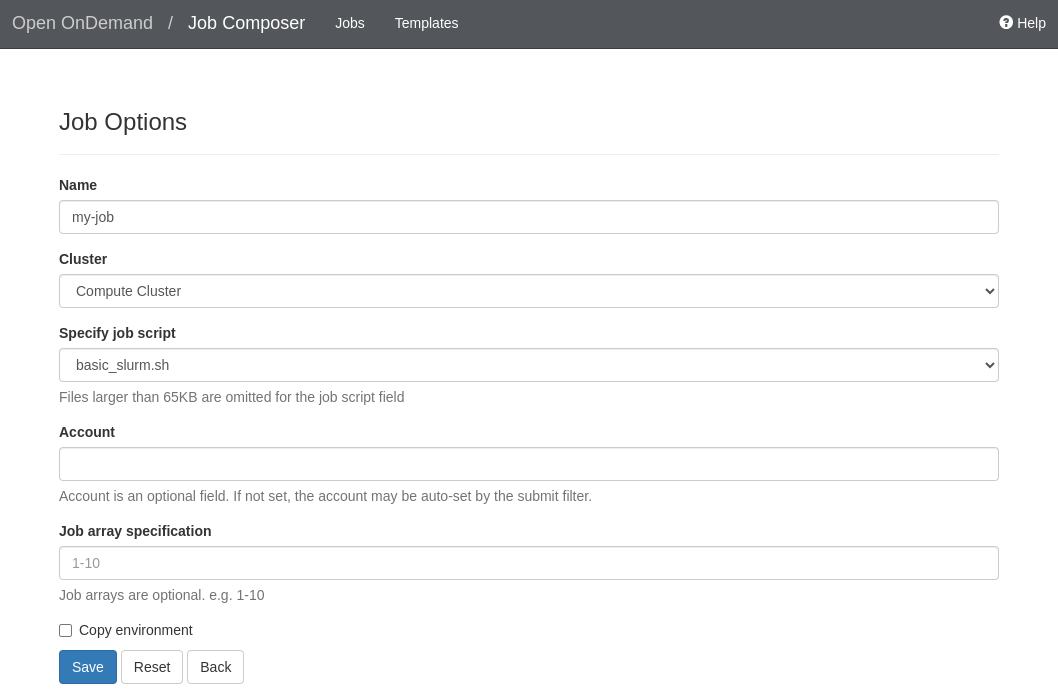
To modify job settings—such as the job name, the target cluster, or the script being executed—click the Job Options button.
Example
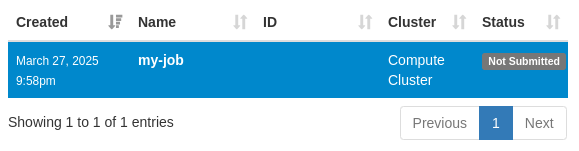
Select a job, then click the Job Options button. Change the job name from "default" to "my-job". Click Save to apply the changes.
To run a job, click the green Submit Job button. The status will change to:
- Queued: Your job is waiting in line for resources.
- Running: Your job is currently executing.
- Completed: Your job has finished.
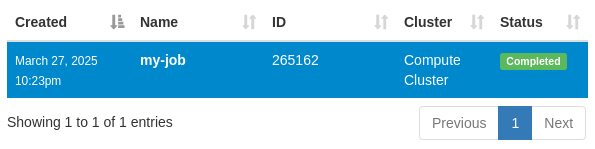
Example
After editing your job, click Submit Job. The job will enter the Queued state, indicating that it's waiting for available resources. Once resources are allocated, the job will move to Running, and finally to Completed when finished.
On the right side of the screen, you’ll find two panels:
- Job Details: Displays job name, account, folder path, script name, and other associated files.
- Submit Script: Shows the script that will be executed when the job is submitted.
You can edit the job script directly by clicking Open Editor.
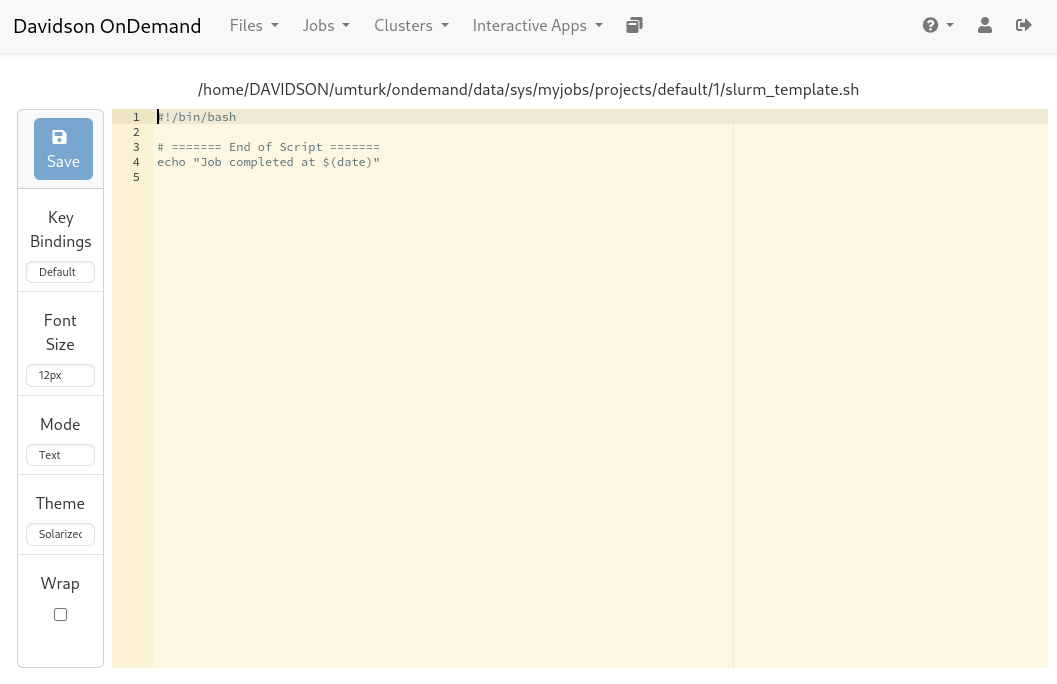
Example
Click Open Editor to modify your job script. Add a line such as: echo "My edited job" Then click Save to apply your changes.